How to Make Homemade Sweet Apple Cider
How To Make Apple Cider At Home Recipe.
From Orchard to Bottle: Your Australian Guide to Making Delicious Homemade Apple Cider
Autumn’s well and truly settled in across Australia, and just like last year here at Eight Acres Permaculture, we're swimming in apples! While there’s no shortage of delicious things you can whip up with a good haul of fruit – think comforting crumbles and tangy chutneys – there’s a real simple pleasure in pressing your own fresh apple cider.
You might have seen fancy setups online for cider making, and while those big presses look impressive, don’t let them scare you off. Making your own sweet cider at home is a surprisingly straightforward process, perfect for those of you wondering what to do with a backyard bounty or a generous gift of fruit. This isn’t about brewing hard cider (the alcoholic kind, that’s a different ballgame!), but about capturing that pure, refreshing apple flavour in a bottle.
Why go to the trouble? Well, the taste alone is a revelation. Homemade cider is vibrant and alive, a far cry from the often sugary and processed versions you find in the shops. Plus, you know exactly what’s gone into it – just beautiful apples. It’s also a fantastic way to put excess fruit to good use, rather than seeing it go to waste. And let’s be honest, there’s a quiet satisfaction in creating something so wholesome yourself. It’s a little win for self-sufficiency, and those little wins add up.
Do You Need a Fancy Cider Press?
When you think of making cider, you might picture those gorgeous wooden presses. They’re certainly lovely pieces of equipment, and if you get hooked on cider making, you might find yourself wanting one down the track. But for your first go, don’t let the lack of one stop you.
Think about what you might already have lurking in the kitchen. That old juice extractor tucked away in the cupboard might just be perfect for the job, especially if you’re doing a smaller batch. Or, you can go for a more hands-on approach: give those apples a good smash! Think a sturdy potato masher in a clean, food-grade bucket. It might take a bit more effort, and you won’t get quite as much juice as with a dedicated press or juicer, but it’s a great way to get started and see if cider making is for you. Keep an eye out too – you might be able to borrow or even hire a press from a local community group or a friendly neighbour. Why not ask in The Resilience Village? You never know what helpful connections you might make.
The Bare Essentials for Your First Batch of Homemade Sweet Cider:
For your initial foray into homemade sweet cider, you won’t need a mountain of gear. Here’s a simple list to get you started:
Apples: The star of the show! Use a mix of your favourites for a more interesting flavour.
Knife & Chopping Board: For prepping the fruit.
Large Food-Grade Bucket: For smashing the apples (if you’re going that route).
Potato Masher (or similar sturdy tool): Your apple-smashing implement.
Large Bowl: To collect the precious juice.
Sieve: To separate the pulp from the juice.
Muslin Cloth (or a clean tea towel): For finer straining.
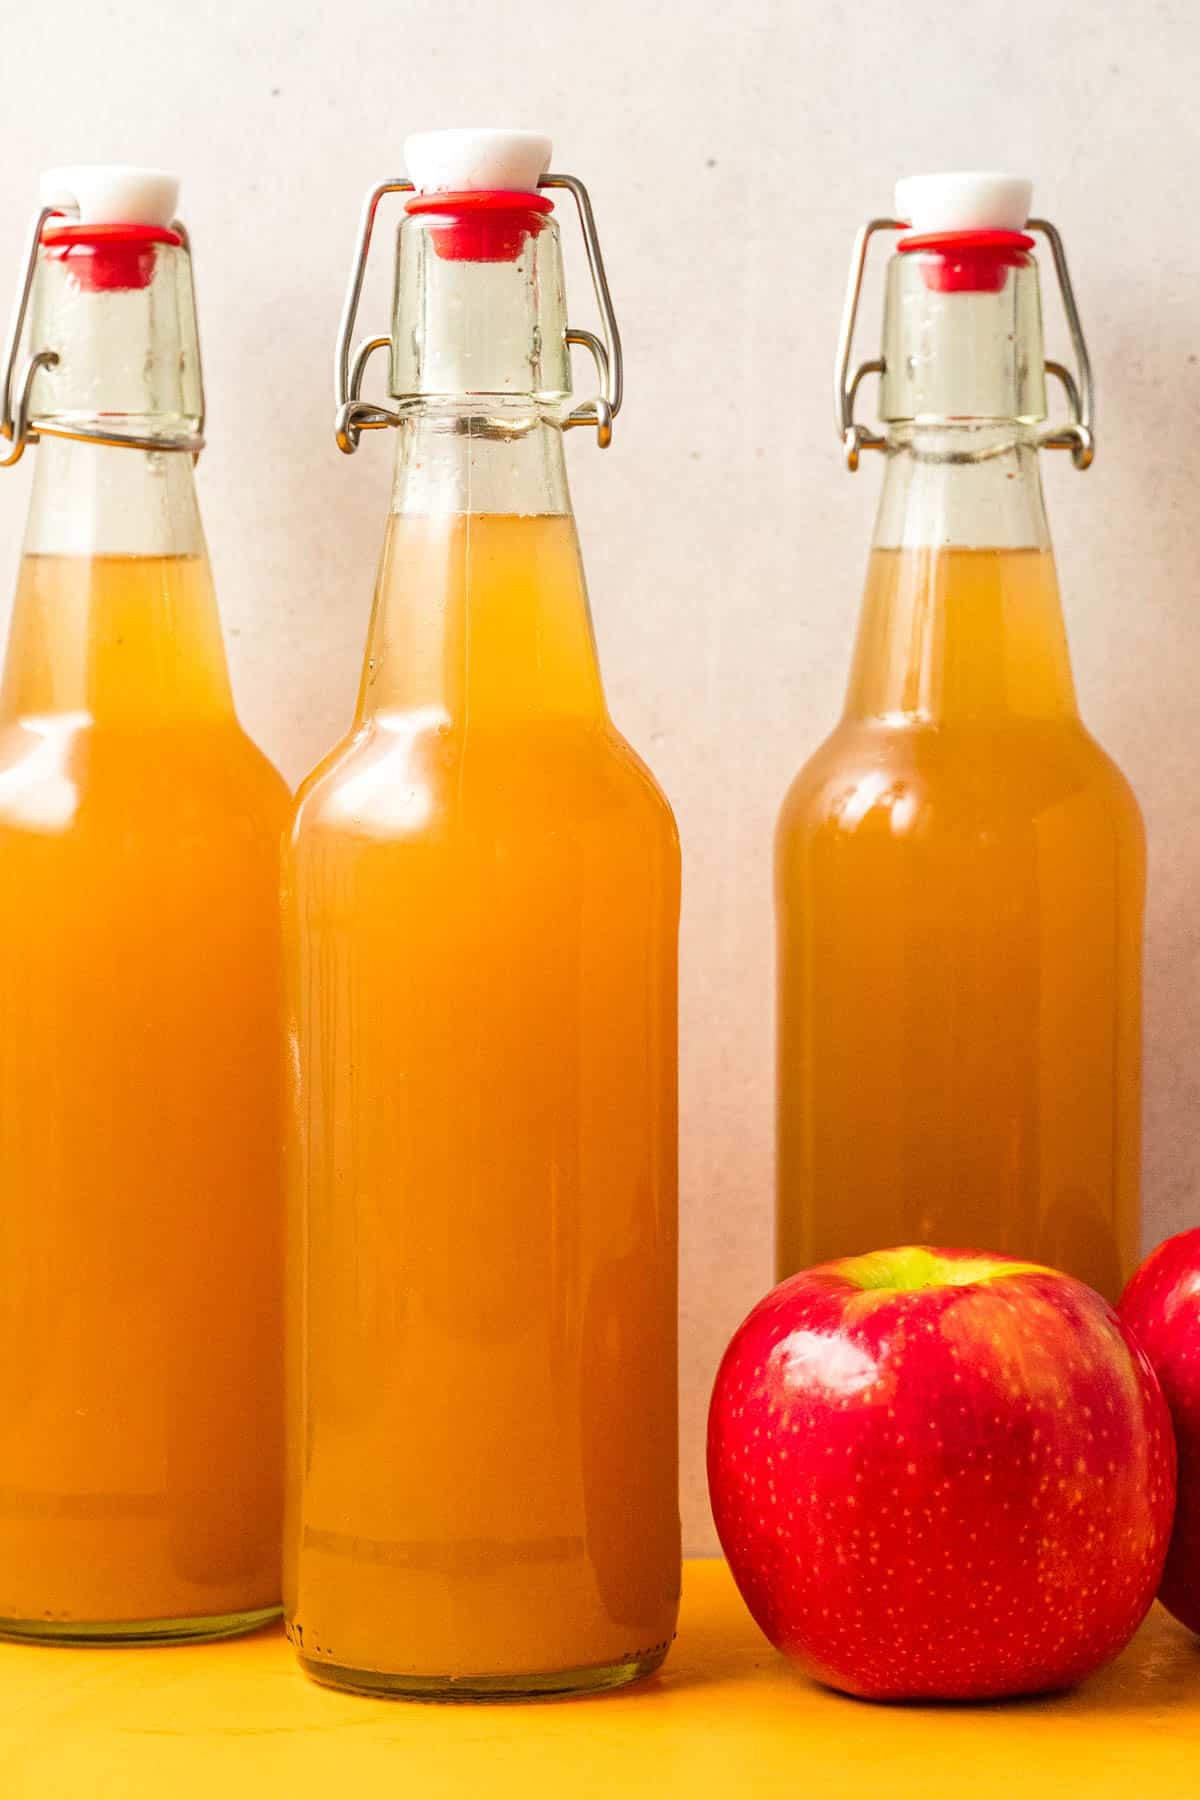
Clean Jars or Bottles with Lids: For storing your delicious cider. Sterilising them with hot, soapy water and a rinse with boiling water is a good idea.
That’s it for the really basic setup! As you get more into it, you might consider things like a proper fruit press, but for now, let’s keep it simple.
How Many Apples Do You Need To Make Cider?
As a rough guide, you’ll need a fair amount of apples to get a decent amount of cider. Depending on the juiciness of your apples and your extraction method, around 5 to 7 kilograms of apples should give you roughly 4 litres of cider. If you’re smashing by hand, you might need a few extra, as the juice extraction won’t be as efficient as with a juicer or press.
Let’s Get Cider Making! (The Sweet Kind):
Wash and Chop Your Apples: Give your apples a good rinse under cold water to remove any dirt. Chop them into smaller pieces. You don’t need to peel or core them – just remove any obviously rotten bits.
Smash the Apples (if not using a juicer): Pop your chopped apples into your clean, food-grade bucket. Now, grab your potato masher (or whatever sturdy tool you’ve found) and get smashing! Keep going until the apples are a pulpy mush.
Extract the Juice:
Juicer Method: If you’re using a juice extractor, simply feed the apple pieces through according to the manufacturer’s instructions and collect the juice in a clean bowl.
Smashing Method: Line your sieve with a couple of layers of muslin cloth (or a clean tea towel). Place the sieve over a large bowl. Scoop the smashed apple pulp into the muslin-lined sieve. Now, gently press down on the pulp with the back of a spoon or your (clean!) hands to squeeze out the juice into the bowl below. You can also gather the edges of the muslin cloth and twist to extract more juice.
Strain the Juice (Optional): If you prefer a clearer cider, you can strain the juice again through a clean muslin cloth. This will remove any remaining bits of pulp. Some people like a little bit of sediment, so this step is up to you.
Bottle and Store: Carefully pour your fresh cider into your clean jars or bottles, leaving a small gap at the top. Seal them tightly with the lids. Store your homemade sweet cider in the refrigerator. It’s best enjoyed within a few days for the freshest flavour.
A Note on Cider Fizz:
This method will give you still (non-fizzy) apple cider. If you’re interested in a bit of sparkle, you can experiment with allowing natural fermentation to occur for a very short period at room temperature before refrigerating. However, this needs careful monitoring as pressure can build up. For a safer and more controlled sparkling cider, you can carbonate your still cider using a SodaStream or similar device just before serving.
Tips for Sweet Cider Success:
Use Ripe, Good Quality Apples: The better the apples, the better the flavour of your cider.
Keep Everything Clean: Cleanliness is important to prevent unwanted nasties from getting into your cider. Wash your equipment well.
Taste Test: Once you’ve extracted the juice, give it a little taste. It should be naturally sweet and flavourful.
Start Small: Don’t feel you need to process a huge amount of apples for your first attempt. A smaller batch is a great way to learn.
Refrigerate Promptly: Because we’re making sweet cider and not encouraging fermentation, get it into the fridge as soon as it’s bottled.
Making your own sweet apple cider is a simple and satisfying way to enjoy the fruits of the season. It’s a taste of pure apple goodness that’s hard to beat.
Join The Resilience Village:
Want to swap apple growing and cider-making tips, share your successes (and occasional sticky mishaps!), and connect with other Aussies on their self-sufficiency journey? Join The Resilience Village online community! It’s a place to meet, connect, and grow with real people learning to create a more resilient life, one skill at a time. We’d love to hear about your apple adventures! Click here to get started, it’s free.
To understand the deeper data behind why the world is changing, read my briefing on The Great Reclamation