How To Make Sourdough Starter & Keep It Alive
How To Make Sourdough Starter and keep It Alive
Making Your Own Sourdough Starter (and Rehydrating a Dehydrated One)
The aroma of freshly baked sourdough bread is something truly special. But before you can enjoy that tangy, chewy loaf, you need a sourdough starter – a living, breathing colony of wild yeast and bacteria that will transform your flour and water into something extraordinary. It might seem daunting, but creating and maintaining a sourdough starter is a rewarding experience, and it's easier than you think.
The Basics of Sourdough:
Sourdough bread relies on wild yeast and lactic acid bacteria, which are naturally present in flour. These microorganisms ferment the sugars in the flour, producing carbon dioxide (which makes the bread rise) and lactic acid (which gives sourdough its characteristic tang). A sourdough starter is simply a mixture of flour and water that provides a hospitable environment for these organisms to thrive.
Making Your Own Starter from Scratch:
Day 1: The Foundation: Combine 50g of wholemeal or light rye flour with 50g of warm water in a clean glass jar or container. Mix well until you have a thick paste. Cover loosely with a cloth or lid and leave it in a warm place (around 20-25°C) for 24 hours.
Day 2: The First Feed: You might see a few bubbles forming, or you might not. Either way, it’s time to feed your starter. Discard half of the starter (don’t worry, this is normal!). Add 50g of wholemeal or light rye flour and 50g of warm water to the remaining starter, and mix well. Cover and leave for another 24 hours.
Days 3-7: Feeding and Growing: Repeat the feeding process every 24 hours. You should start to see more activity – more bubbles, a more pronounced sour smell, and a noticeable increase in volume.
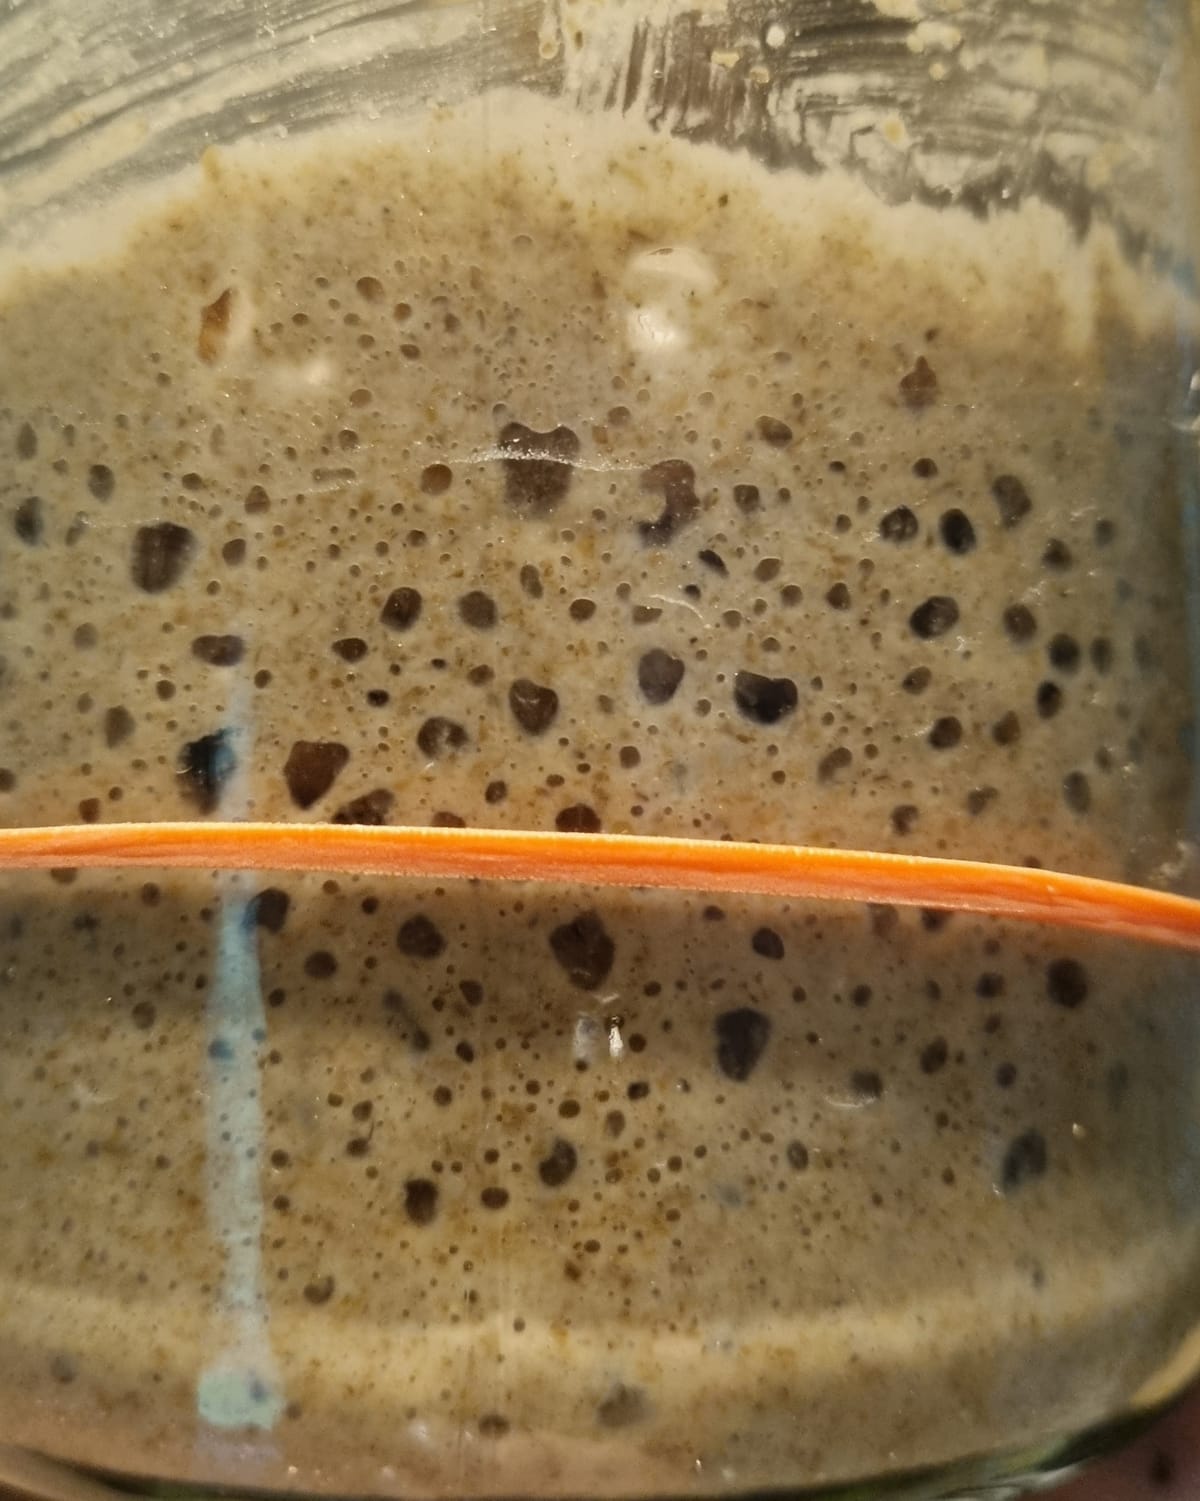
Day 7-10: Maturity: By day 7-10, your starter should be doubling in size within a few hours of feeding. It will have a bubbly, spongy texture and a pleasant, tangy aroma. It's now ready to use for baking!
NOTE: There is no discarding during this process. You want to get your starter large enough to bake a loaf. You need 150g of starter to bake one loaf.
Rehydrating a Dehydrated Sourdough Starter (From Our Farm Shop):
If you've purchased a dehydrated sourdough starter from our Eight Acres Permaculture, you're one step ahead! Rehydrating it is a simple process:
Grind and Combine: Grind the 10g of dehydrated starter into a fine powder. Add 10g of warm water and 10g of light rye flour to the powder and mix well to form a thick paste.
Day 2: First Feed: The next day, add 20g of warm water and 20g of light rye flour to the paste and mix until it’s the consistency of thick pancake batter.
Days 3-4: Continued Feeding: Continue to feed your starter with equal parts flour and water. If you wish, you can weigh the starter, flour and water but I prefer to eyeball it, aiming for a thick, but workable consistency. It should take some effort to mix – not runny.
Days 4-5: Activation: Within 4-5 days, you should see your starter become airy and double in size. This indicates it’s ready for baking.
NOTE: There is also no discarding during this process. You want to get your starter large enough to bake a loaf. You need 150g of starter to bake one loaf.
Tips for Sourdough Success:
Flour Choice: Wholemeal or light rye flour is ideal for starting and feeding your starter, as it contains more nutrients for the yeast and bacteria.
Water Temperature: Use warm water (around 25°C) to encourage yeast activity.
Consistency: Aim for a thick, pancake batter consistency when feeding your starter. It should be thick, but not too stiff.
Warmth: Keep your starter in a warm place to encourage fermentation.
Patience: Creating a sourdough starter takes time. Don’t be discouraged if it doesn’t seem to be doing much in the first few days.
Smell Test: A healthy starter will have a pleasant, tangy smell, it is fermenting after all. If it smells foul or mouldy, discard it and start again.
Container: I find using an old 1kg hummus bucket or similar is perfect for the job. It enables you to have plenty of room for growth and see through it to observe when it’s doubling in size.
Maintaining Your Starter:
Once your starter is active, you need to maintain it.
Regular Feeding: Feed your starter every 12-24 hours if you’re keeping it at room temperature.
Refrigeration: If you’re not baking regularly, you can store your starter in the refrigerator. Feed it once a week.
Discarding: Some people feed regularly and opt to discard half of the starter before each feeding as it prevents it from becoming too large. You can use the discarded starter to make pancakes, crackers, or other baked goods so there’s no waste. However, I find if I am baking one loaf a week, I have enough to retain, plus the 150g for a loaf within the week, no discard needed.
Retaining Starter: Always retain some of your active starter to begin the process of growing a new starter.
Join The Resilience Village:
Want to learn more about sourdough baking and other homesteading skills? Join The Resilience Village community! It’s a place to meet, connect, and grow with real people learning to create a more resilient life, one skill at a time. Share your sourdough experiments, ask questions, and learn from others’ experiences. You’ll find a supportive community ready to help you on your self-sufficiency journey. Click here to get started, it’s free.